
WordPressで出かけた場所についてのブログも書いていますが、
その出かけた場所をGoogleMapにまとめて表示し、ブログのリンクに飛べるようにしてみました。
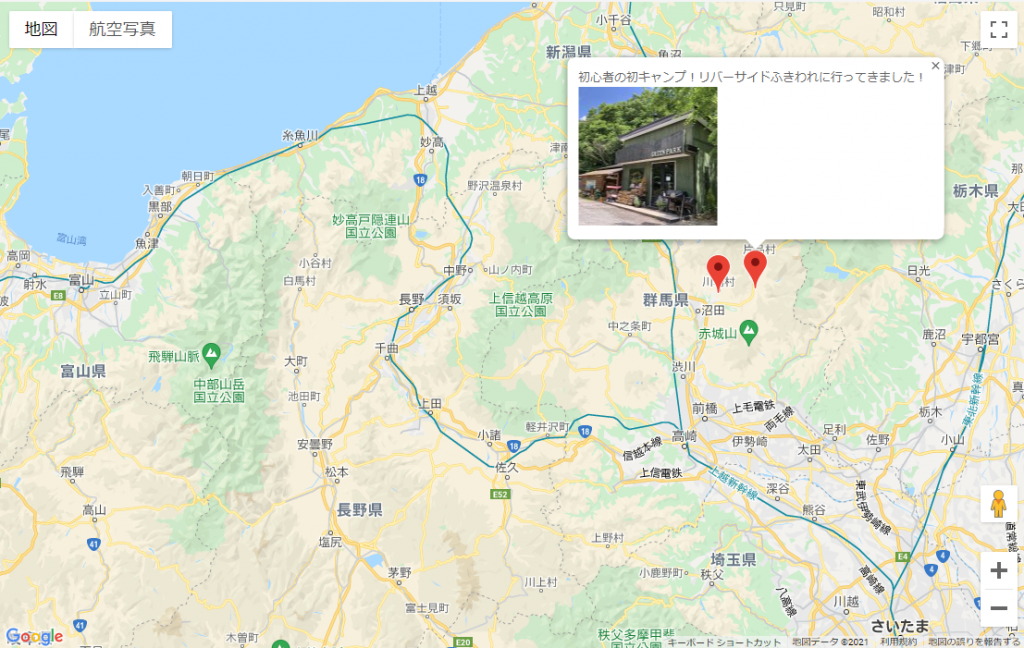
GoogleMap上のピンをクリックすると、ブログのタイトルとアイキャッチ画像を表示します。
その方法を記載します。
GoogleMapのAPIキーを取得する
以下の記事を参考にして下さい。
カスタムフィールドを設定
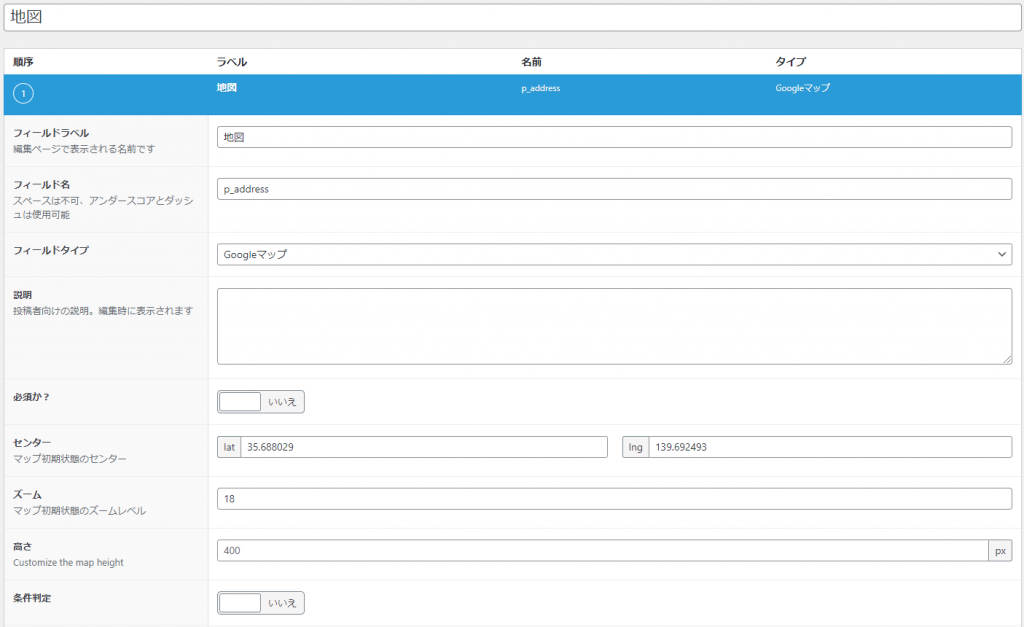
投稿で地図の位置を設定できるようにするためにカスタムフィールドを設定します。
『Advanced Custom Fieldsプラグイン(ACF)』を使用するので追加します。
そして、以下のように設定します。
上記のカスタムフィールド用のAPI KEYをfunction.phpに追記します。
function.php
// カスタムフィールド用のAPI KEYを設定
function my_acf_google_map_api( $api ){
    $api['key'] = '{API_KEY}';
    return $api;
}
add_filter('acf/fields/google_map/api', 'my_acf_google_map_api');
{API_KEY}には取得したAPI Keyをいれてください。
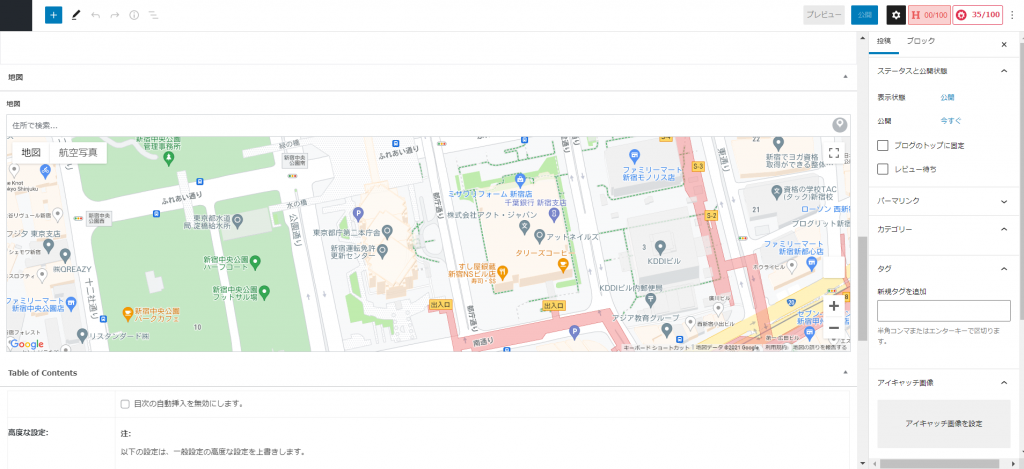
そうすると、投稿の最後にGoogleMapが表示され、地図上から場所を設定できるようになります。
個別ページにカスタムフィールドの情報と地図を表示する
GoogleMapを表示するためのスクリプトを、footerに追加します。
function.php
//GoogleMaps jsを追加 footer
function add_footer_enqueue_scripts_googlemaps_js() {
    echo '<script async defer src="https://maps.googleapis.com/maps/api/js?key={API_KEY}&callback=initMap"></script>';
}
add_action( 'wp_footer', 'add_footer_enqueue_scripts_googlemaps_js', 99 );
{API_KEY}には取得したAPI Keyをいれてください。
個別ページにカスタムフィールドの情報と地図を表示するために、以下も追記します。
function.php
// 地図まとめ用ショートコード
function allMapFunc($atts) {
    extract(shortcode_atts(array('tagname'=>'マップ',),$atts));
    global $wpdb;
    global $post;
    $map_html = '<div id="map" style="width: 100%; height: 700px;"></div>'."\n";
    $map_html .= '<script>';
    $map_html .= 'var map; var marker = []; var infoWindow = [];'."\n";
    $map_html .= 'var markerData = ['."\n";
    $map_links = "";
    $map_post = get_posts(array('posts_per_page' => 100,'post_type' => 'post','post_status' =>
         'publish,future,draft','tax_query' => array(array('taxonomy' => 'post_tag','field' =>
         'slug','terms' => $tagname))));
    if($map_post){
        foreach($map_post as $post) : setup_postdata( $post );
        $location = get_field('p_address');
        $map_address = $location['address'];
        $map_lat = $location['lat'];
        $map_lng = $location['lng'];
        $map_links .= '{name: \'<a                      href="'.get_the_permalink().'">'.get_the_title().'<br>'.get_the_post_thumbnail( $post_id, 'thumbnail', $attr ).'</a>\','."\n";
        $map_links .= 'lat: '.$map_lat.','."\n";
        $map_links .= 'lng: '.$map_lng.','."\n".'},'."\n";
        endforeach;
    }else{
        $map_links ="データなし";
    }
    wp_reset_postdata();
    $map_html .= $map_links;
    $map_html .= <<<EOT
];

function initMap() {
    var mapLatLng = new google.maps.LatLng({lat: 35.989953, lng: 137.989722});
    map = new google.maps.Map(document.getElementById("map"), { center: mapLatLng, zoom: 7 });
    for (var i = 0; i < markerData.length; i++) {
        markerLatLng = new google.maps.LatLng({lat: markerData[i]['lat'], lng: markerData[i]['lng']});
        marker[i] = new google.maps.Marker({
            position: markerLatLng,
            map: map
        });
        infoWindow[i] = new google.maps.InfoWindow({
            content: '<div class="sample">' + markerData[i]['name'] + '</div>'
        });
        markerEvent(i);
    }
}
function markerEvent(i) {
    marker[i].addListener('click', function() {infoWindow[i].open(map, marker[i]);});
}
</script>
EOT;
    return $map_html;
}
add_shortcode('allMapPin', 'allMapFunc');
GoogleMapを表示させる
固定ページで[allMapPin tagname="マップ"]と記載します。
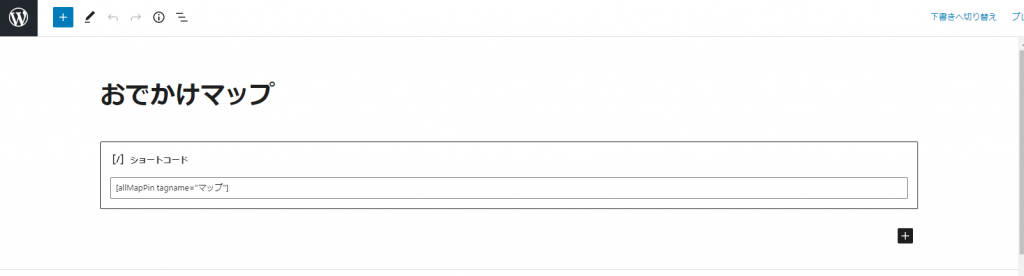
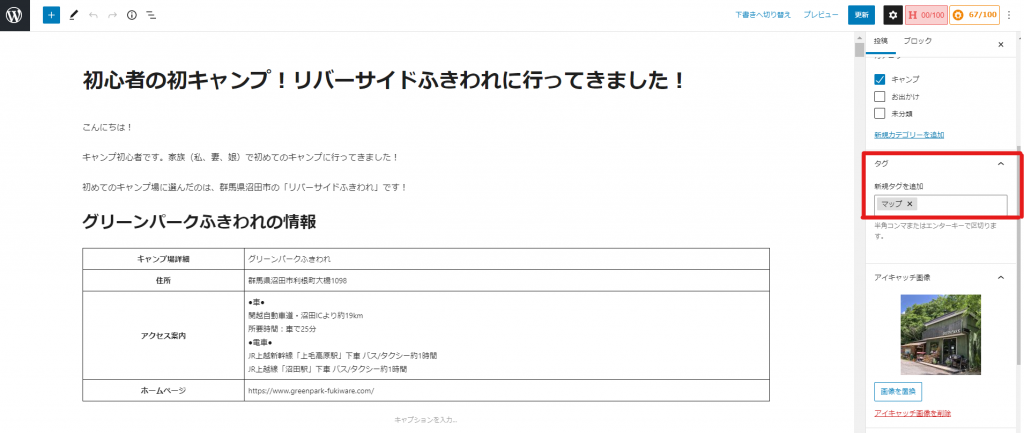
投稿のタグに「マップ」を設定します。
「マップ」タグのついた記事の地図情報(緯度/経度)のピンをつけた、地図が表示されます。
実際のページは以下になります。是非ご覧ください!